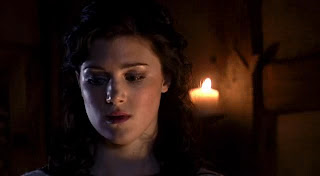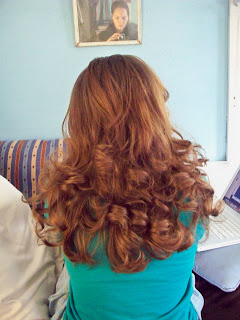
Shown here with more of a middle part
And here with more of a side part, which I liked better
Step 1: Curl your hairHere’s how I did it. Portion off a section of hair at the base of the head, and clip the rest out of the way.
For this style we’re curling the hair up and out, as shown.
After I started curling, I decided to set the curls like in my Elizabeth Swann tutorial – when you’ve finished with the iron, roll the curl back up and secure with a bobby pin. This helps the curl to keep it’s shape later on.
Finish that layer, then repeat until you have a full head of curls.
Spray all your curls with hairspray. When they’ve all cooled, remove the bobby pins. It should look like this:
{Before you take bobby pins out}
{After you take bobby pins out}
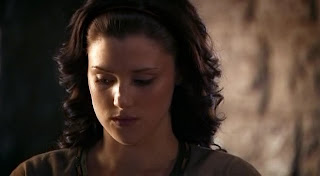
Step 2: Part for your front sectionThe front section underneath Marion’s braid is combed smoothly back, and she has a side part behind the braid. To achieve this, we need to part across the top of the head first, and then create a side part with the rest of your hair.


Pull your front section to the side and clip out of the way for now.
Step 3: The BraidTaking hair from the side (this should be the side with more hair), section off enough hair to make a good sized braid. You don’t want it to be too fat or too skinny. Make sure you take it on a slight angle, and that the hair above it will cover the base of the braid when you’re finished.
As you braid, pull the hair across your head, so that there won’t be any bumps when you finish. Secure with a small rubber band or ponytail holder.
Position the braid across the top of the head, and secure with two criss-crossed bobby pins. You may need to arrange the hair to cover up the end of the braid, using bobby pins if necessary.
Here’s the finished look without combing out the curls:
And here’s how it looks if you gently comb out the curls with a wide toothed comb:
You can also do this hairstyle by replacing the braid with a leather headband:
Tada!!!!! Beautiful, my dear!


